In my 15 years installing hardscapes in the Boston area, I can tell you that the single factor determining if an
In my 15 years installing hardscapes in the Boston area, I can tell you that the single factor determining if an outdoor paver project succeeds or fails is its ability to handle water and ice. A patio that looks perfect in July can become a heaved, uneven mess by April if the base isn't engineered specifically for our intense freeze-thaw cycles. The focus must be on drainage and subsurface stability, not just the surface material. A beautiful travertine paver set on an inadequate base is a guaranteed failure here.
- Base Preparation: A minimum 6-inch compacted gravel base (processed aggregate) is non-negotiable for pedestrian patios; for driveways, it's closer to 12 inches.
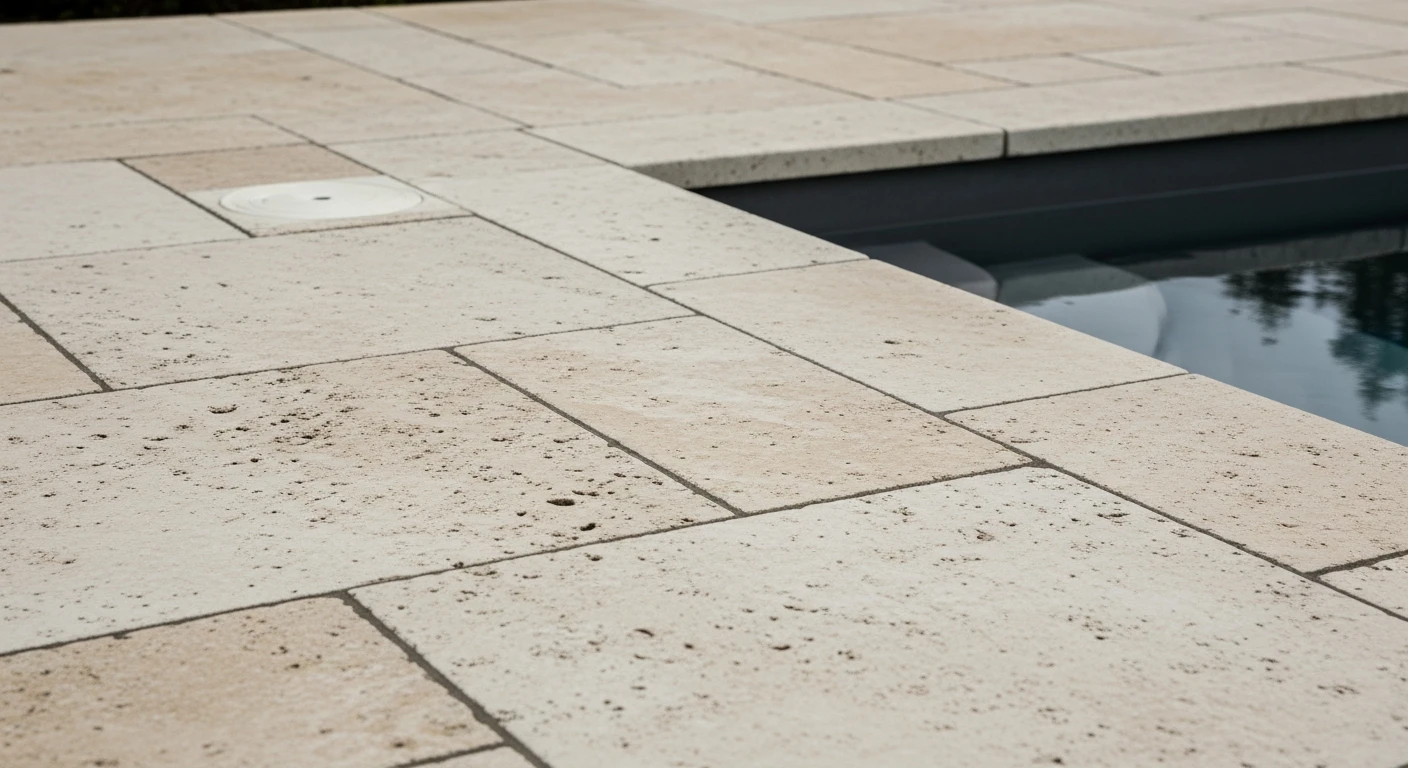
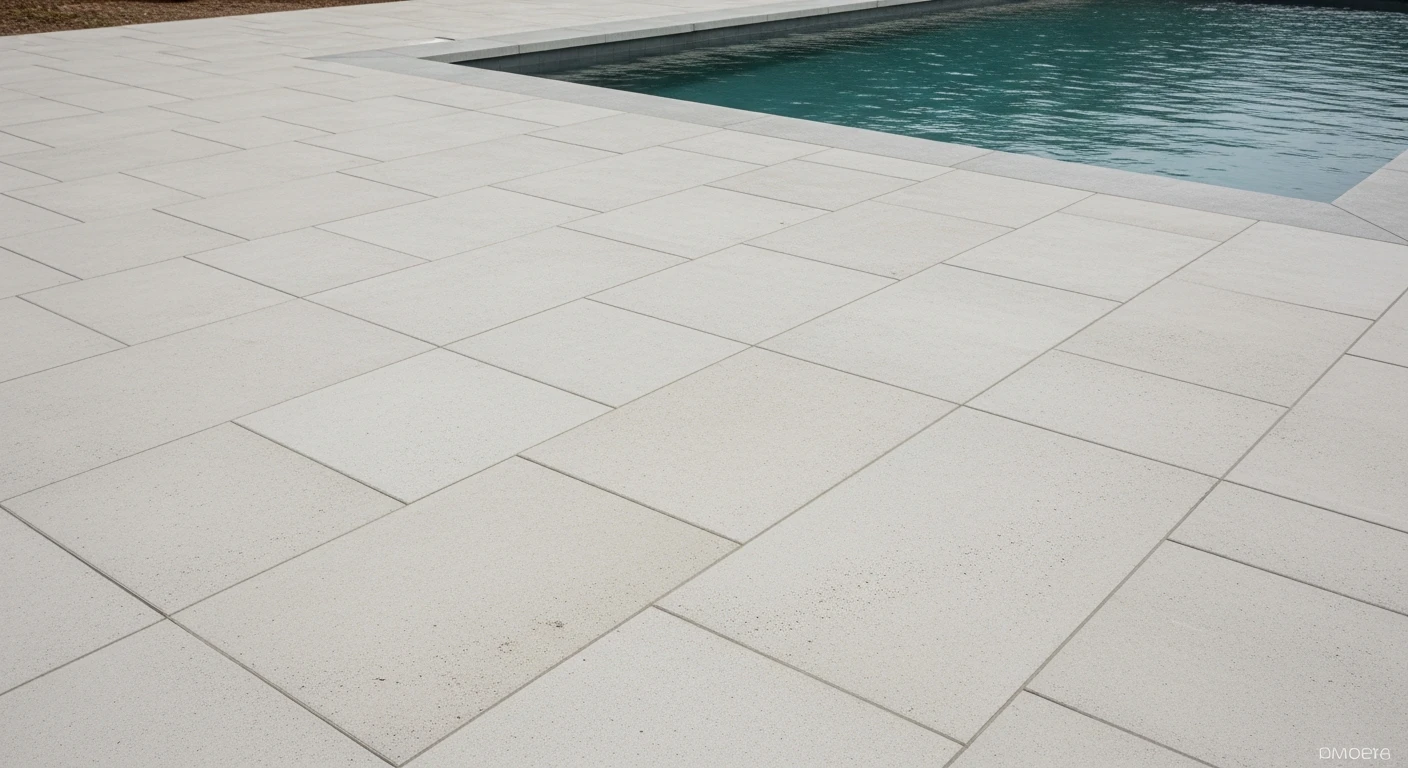
- Material Selection: Low-porosity materials like porcelain pavers and high-density concrete pavers outperform porous natural stones like certain sandstones or travertines in moisture resistance.
- Jointing Compound: Polymeric sand is the standard, but it must be installed correctly in dry conditions to prevent premature failure. Water-activated compounds are gaining traction for better flexibility.
- Drainage Strategy: Proper slope (at least a 1/4 inch per foot drop away from structures) and, in some cases, subsurface French drains are critical for longevity.
Planning Failures That Guarantee a Call-Back
The most common planning failure I see in Boston is underestimating the base. Homeowners, and even some less-experienced contractors, try to save money by skimping on excavation and gravel. They'll put down 3-4 inches of base material when our soil conditions and frost heave potential demand at least 6-8 inches for a simple walkway. This mistake is invisible upon completion but becomes glaringly obvious after the first two winters.
Another frequent issue is improper material selection for the application. For instance, using a thin, aesthetically pleasing but structurally weak paver for a driveway that will see heavy vehicle traffic and snowplow activity. The paver might be rated for pedestrian use, but it will crack under the combined load and thermal stress. This is particularly true for some types of large outdoor pavers if not set on a perfectly stable, deep base.
The Most Expensive Failure: Ignoring Water Management
The costliest mistake is failing to plan for where the water will go. I was called to a project in the South End where a beautiful new patio was channeling water directly toward the home’s foundation. The original installer created a perfect-looking surface but graded it incorrectly. By the time I arrived, the homeowner was dealing with basement moisture issues on top of a patio that was already showing signs of washout at the edges. The repair involved tearing out a third of the new pavers, re-excavating, re-grading the base, and reinstalling, effectively doubling the cost of that section.
The Installation Process for Boston's Climate
A proper paver installation here is a multi-day process focused heavily on what happens below the surface. It begins with deep excavation, removing the unstable topsoil until we hit firm subsoil. Then, a geotextile fabric is laid down to separate the subsoil from the new base material, preventing them from mixing over time. This is a step many skip, but it's vital for long-term stability.
Next comes the base: layers of processed aggregate, each 2-3 inches thick, are added and compacted with a heavy plate compactor. After the base is built and graded, a 1-inch screeded layer of coarse sand provides the setting bed. Only then are the pavers laid. Finally, edge restraints are installed, and polymeric sand is swept into the joints and activated with a light mist of water to harden and lock everything in place.
Key Selection Criteria for Boston Homeowners
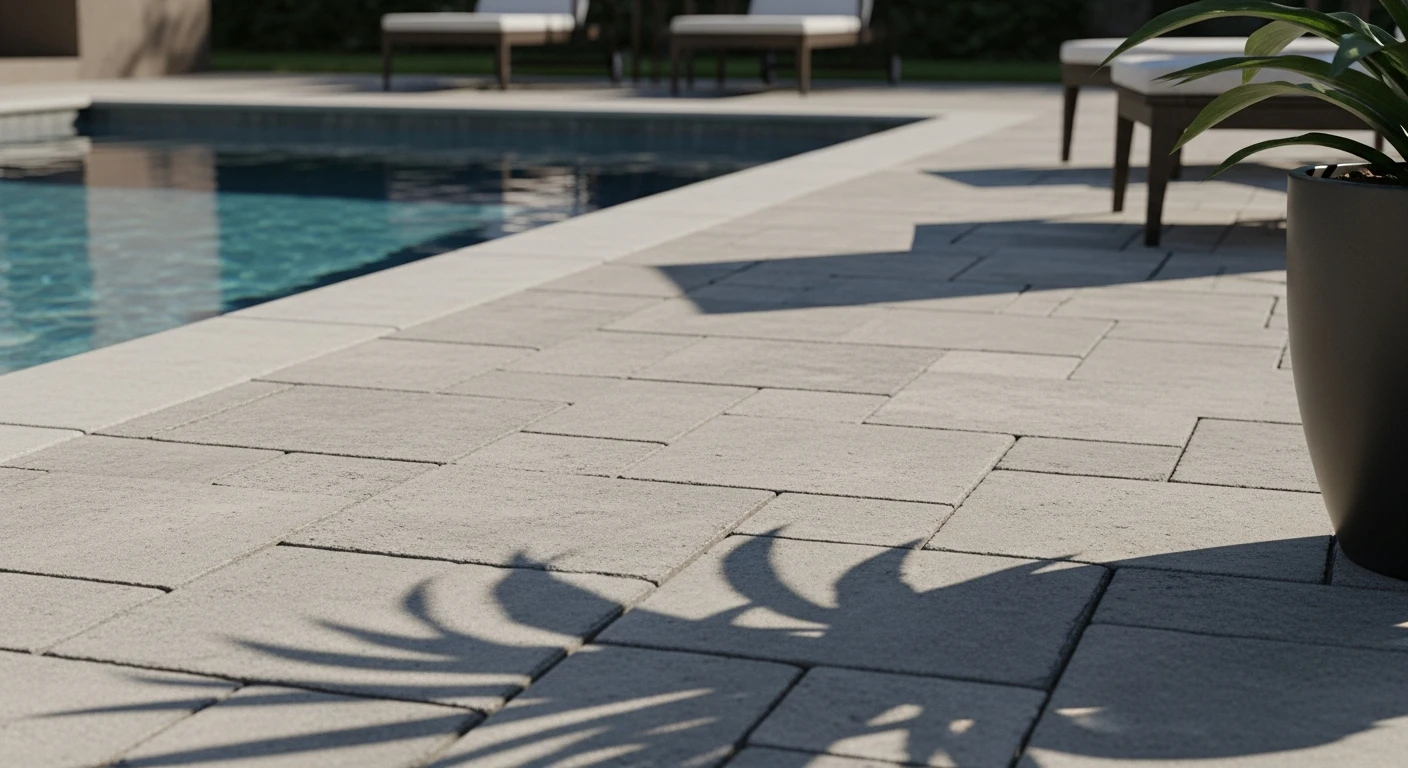
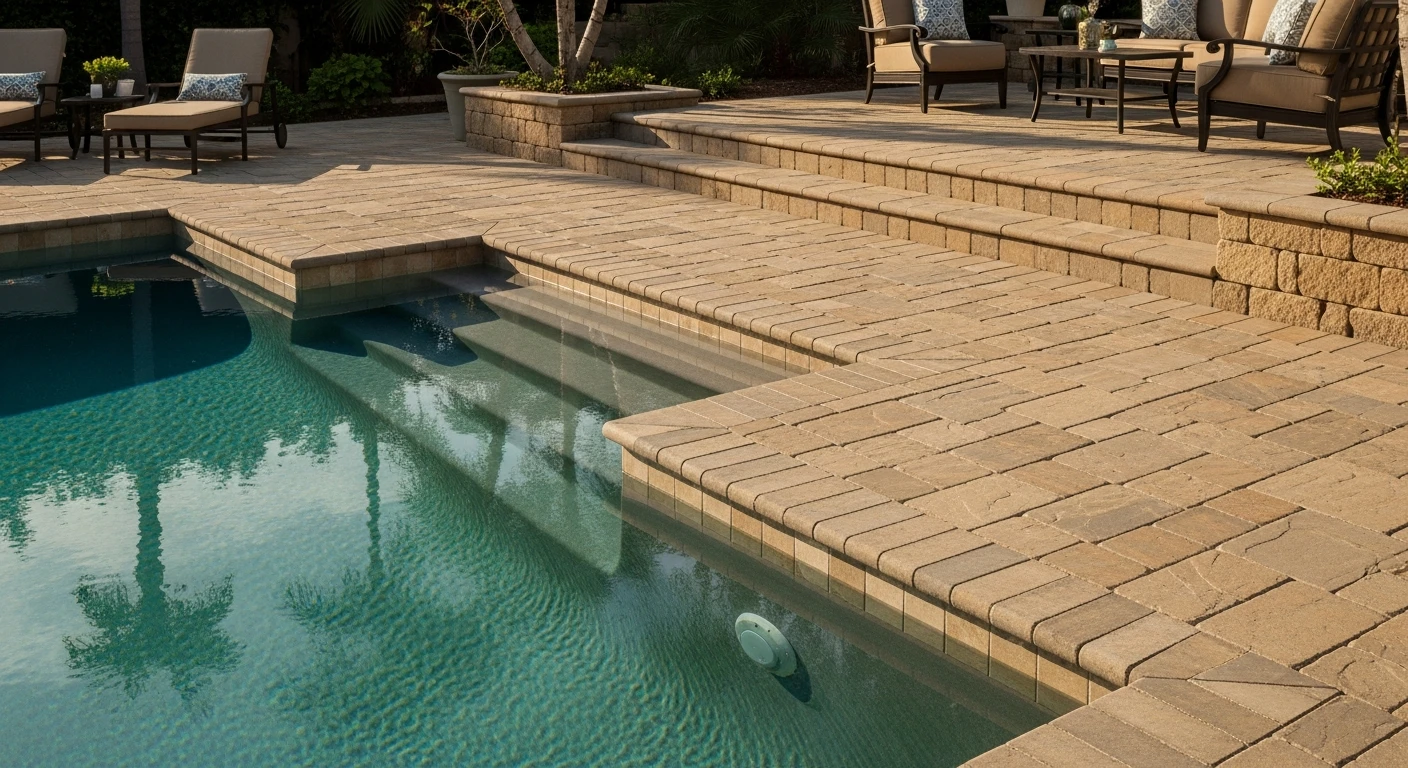
- Verify ASTM C936 Compliance: This is the standard specification for solid concrete interlocking paving units. Ensure any concrete paver you select meets this standard for strength and absorption, which is critical for durability in our climate.
- Inquire About Base Depth and Compaction: Ask any potential contractor to specify the exact depth of the compacted base in their proposal. If it's less than 6 inches for a patio, be wary. Ask what type of compactor they use.
- Factor in Snow Removal: If you plan to use a snowplow or snow blower, choose pavers with beveled edges to reduce the chance of catching and chipping them. Flat, sharp-edged pavers are more vulnerable.
- Check Local Setbacks: In neighborhoods like Brookline or Newton, there are often strict regulations about impervious surfaces. Permeable paver systems might be required or incentivized to manage stormwater runoff, so it's essential to check with the local building department.
Comparing Pavers to Other Outdoor Surfaces
Homeowners often weigh pavers against poured concrete or traditional wood decking. Each has its place, but the decision in Boston hinges on maintenance, repairability, and performance in our specific weather. Pavers offer a distinct advantage in repairability—a cracked concrete slab requires a patch or complete replacement, while a damaged paver can be individually lifted and replaced.
When Outdoor Pavers Are Not the Right Choice
Despite their benefits, pavers are not the ideal solution for every situation. If your property has significant, unresolved soil stability or drainage issues, laying pavers on top will be a temporary fix at best. I advised a client in Jamaica Plain against a paver patio for their backyard, which was at the bottom of a steep, waterlogged hill. The hydrostatic pressure from the groundwater would have compromised any standard paver base within years. In that case, a raised deck on deep concrete footings was the more durable and logical, albeit different, solution.
| Feature | Interlocking Pavers | Poured Concrete | Wood Decking |
|---|---|---|---|
| Freeze-Thaw Resistance | Excellent (with proper base) | Fair (prone to cracking/spalling) | Good (but wood degrades with moisture) |
| Repairability | Excellent (individual unit replacement) | Poor (patching is visible) | Fair (board replacement is possible) |
| Upfront Cost | High | Medium | Medium to High |
| Long-Term Maintenance | Low (occasional joint sand top-off) | Medium (requires sealing to prevent spalling) | High (requires regular staining/sealing) |
Safe Hiring Checklist for Your Paver Project
Finding a qualified contractor in the competitive Boston market requires diligence. The quality of the installation is far more important than the brand of the paver itself. A high-end porcelain paver installed poorly will fail faster than a basic concrete paver installed correctly.
- Verify Massachusetts HIC License: Any contractor performing more than $1,000 of work on a home must have a Home Improvement Contractor (HIC) registration. You can verify their status on the Mass.gov website. This is your first line of protection.
- Request Proof of Insurance: Ask for a certificate of both general liability and worker's compensation insurance. An uninsured contractor puts all the liability on you, the homeowner.
- Ask for a Portfolio of Local, Aged Projects: Don't just look at brand-new installations. Ask to see photos—or even addresses—of projects they completed 5+ years ago. This is the true test of their work's durability against our winters.
- Get a Detailed, Itemized Quote: The proposal should break down costs for excavation, base material (type and depth), pavers, edge restraints, and labor. Vague quotes hide shortcuts.
- Check for ICPI Certification: While not legally required, certification from the Interlocking Concrete Pavement Institute (ICPI) indicates a contractor has been trained in industry best practices.
Decisions That Determine the Outcome
The success of your paver project is locked in before the first stone is laid. The most critical decision is choosing a contractor who prioritizes base preparation over speed. Many crews can lay pavers quickly, but only the meticulous ones spend the necessary time on the unseen foundation. This is where you, the homeowner, must ask probing questions about their process.
Another key decision is the material itself. While a beautiful outdoor travertine paver might look stunning in a catalog, its higher porosity can make it more susceptible to damage from salt and freeze-thaw cycles if not properly sealed and maintained. In contrast, high-density porcelain pavers offer incredible durability and near-zero water absorption, making them an excellent, albeit more expensive, choice for our region.
The Moment Homeowners Get It Wrong
The most common misstep happens during the contractor selection phase. Homeowners receive three quotes and are naturally drawn to the lowest bid. The mistake is comparing bids on price alone, without comparing the scope of work line-by-line. The cheaper bid almost always specifies a shallower base, skips the geotextile fabric, or uses a lower-quality aggregate. To avoid this, create a checklist from the most detailed quote and ask the other bidders to quote the exact same specifications. This forces an apples-to-apples comparison and reveals who is cutting corners.
Practical Answers for Paver Projects in Boston
Navigating a hardscaping project involves more than just design and construction. You have to contend with local regulations and site-specific challenges. Understanding these upfront prevents delays and costly surprises.
Do I Need a Permit for a Paver Patio?
In Boston, a permit is generally not required for a simple on-grade patio. However, the rules change if the project involves retaining walls over a certain height (typically 4 feet), extensive grading changes, or if it is part of a larger construction project. Furthermore, if your property is in a historic district like Beacon Hill or the Back Bay, you will absolutely need approval from the local historic district commission for any exterior work, regardless of size.
How Do Local Zoning and Setbacks Affect My Project?
Zoning codes dictate how much of your lot can be covered by impervious surfaces (surfaces that don't absorb water). Installing a large paver patio could push you over this limit, especially on smaller city lots. This is a critical factor in areas like Dorchester or Roslindale with dense housing. It's essential to consult the City of Boston's zoning code or a knowledgeable contractor to ensure your design is compliant. A permeable paver system can sometimes be used to meet these requirements.
What About Access in Dense Neighborhoods?
Logistics are a major factor in Boston. In neighborhoods with narrow streets and limited access, like the North End or Charlestown, simply getting equipment and materials to the site can be a challenge. A contractor needs a plan for mini-excavators, material delivery, and debris removal that respects tight property lines and public access. This logistical planning should be reflected in the project plan and can influence the total cost of the job.